
Block Printing & June News
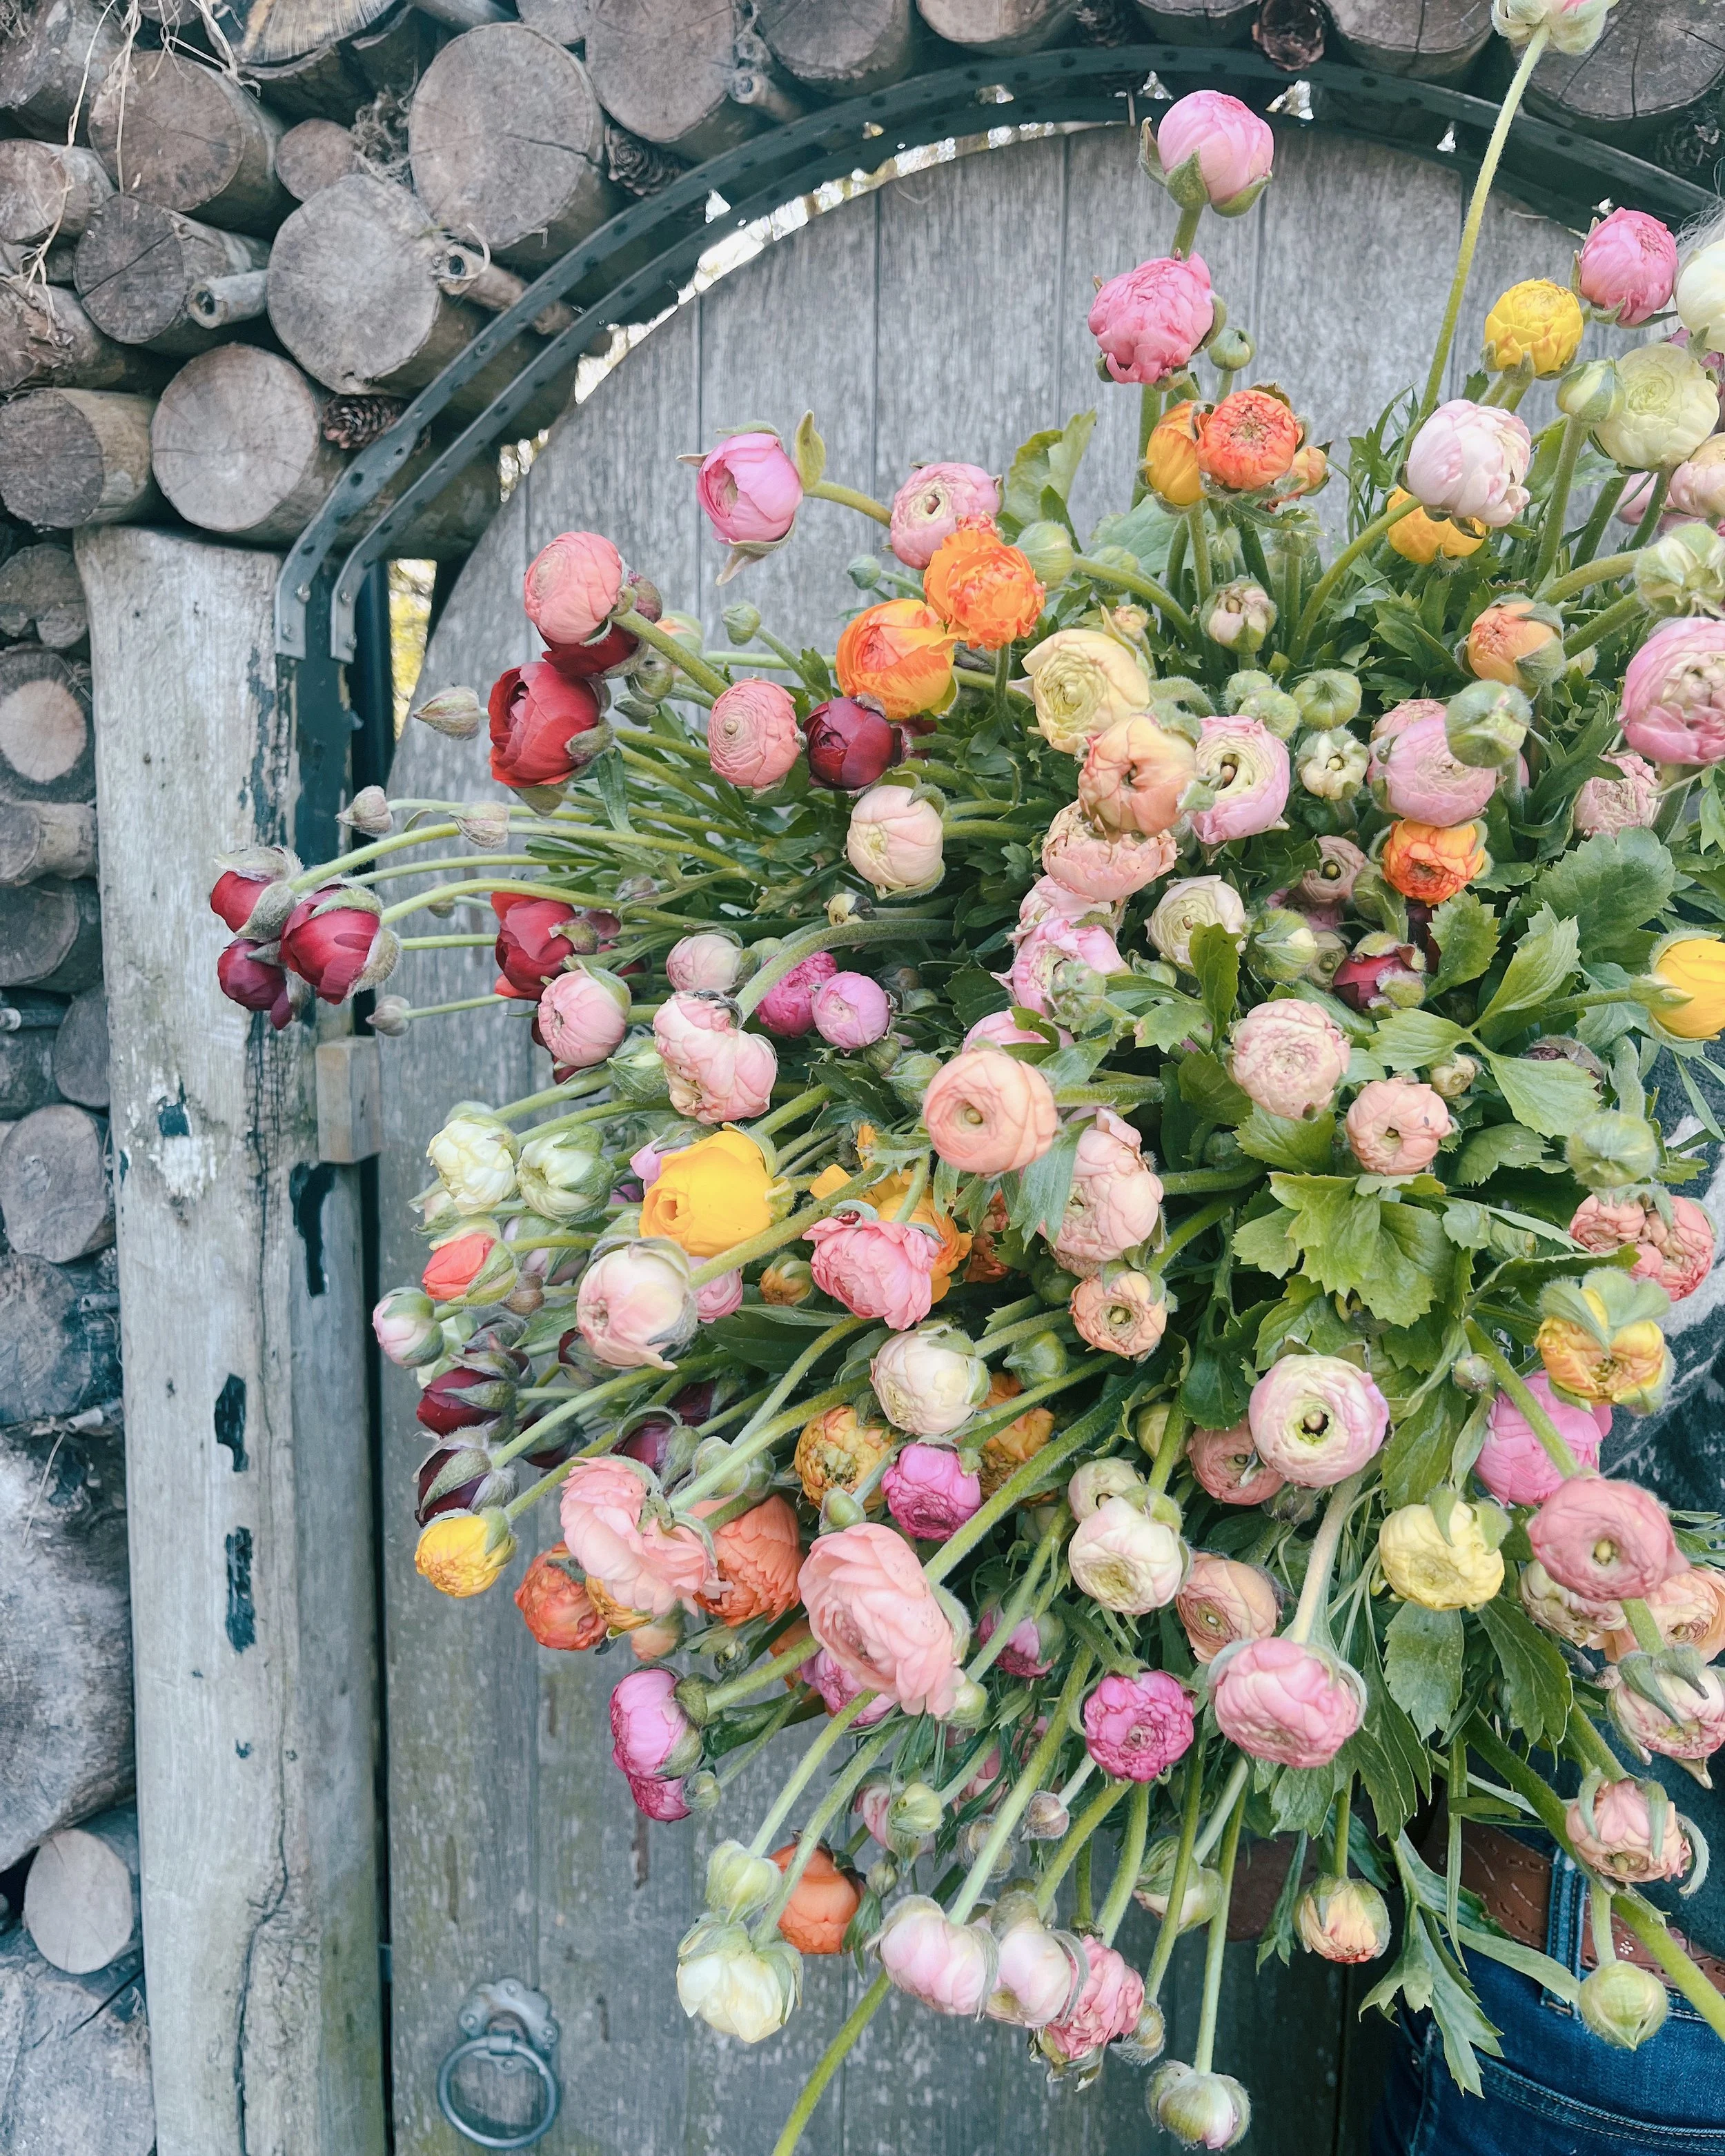
June has arrived. British flowers are in their element showing off in all their glory and I absolutely love it!! To say things have been busy here would be an understatement. At long last my dreams have turned into a reality and I am moving the school into a new permanent premises. This of course is incredibly exciting but a tad daunting. It was used as a gym so I busy transforming the space, waiting to open the doors once again to more flower lovers.


My vision is to create a floral haven. Where people can come and be transported into a creative and beautiful place. That’s the hope anyway!
This month we have also launched our subscription service The Art of Floral Designing. This has also been something that I have been longing to do. I feel like you can never stop learning. Learning new techniques, getting inspired, pushing yourself out of your comfort zone. This is what The Art of Floral Designing is all about. I want all flower lovers to be able to share in my love for this industry. I hope by sharing tutorials, interviews and general advice it will give everyone on going inspiration and education.

This month I really excited to launch our first non floristry based class; block printing. During lockdown the only thing that I was able to do besides looking after my children was to block print. I found it so relaxing and mindful, so I am delighted to share this craft with my students. As part of the day students will begin by pressing flowers, then we will look at block printing. Using traditional Indian wooden blocks, students will get to create beautiful images using an array colour palates. While the art work is drying, guests can enjoy a glass of fizz before framing their pressed flowers and then framing their artwork.

We still have a couple of places left on our block printing class so why not come and join us.
I am looking forward to sharing with you all images of the flowers school which is only twenty minutes from Brighton and forty minutes from London.
Alicia xx
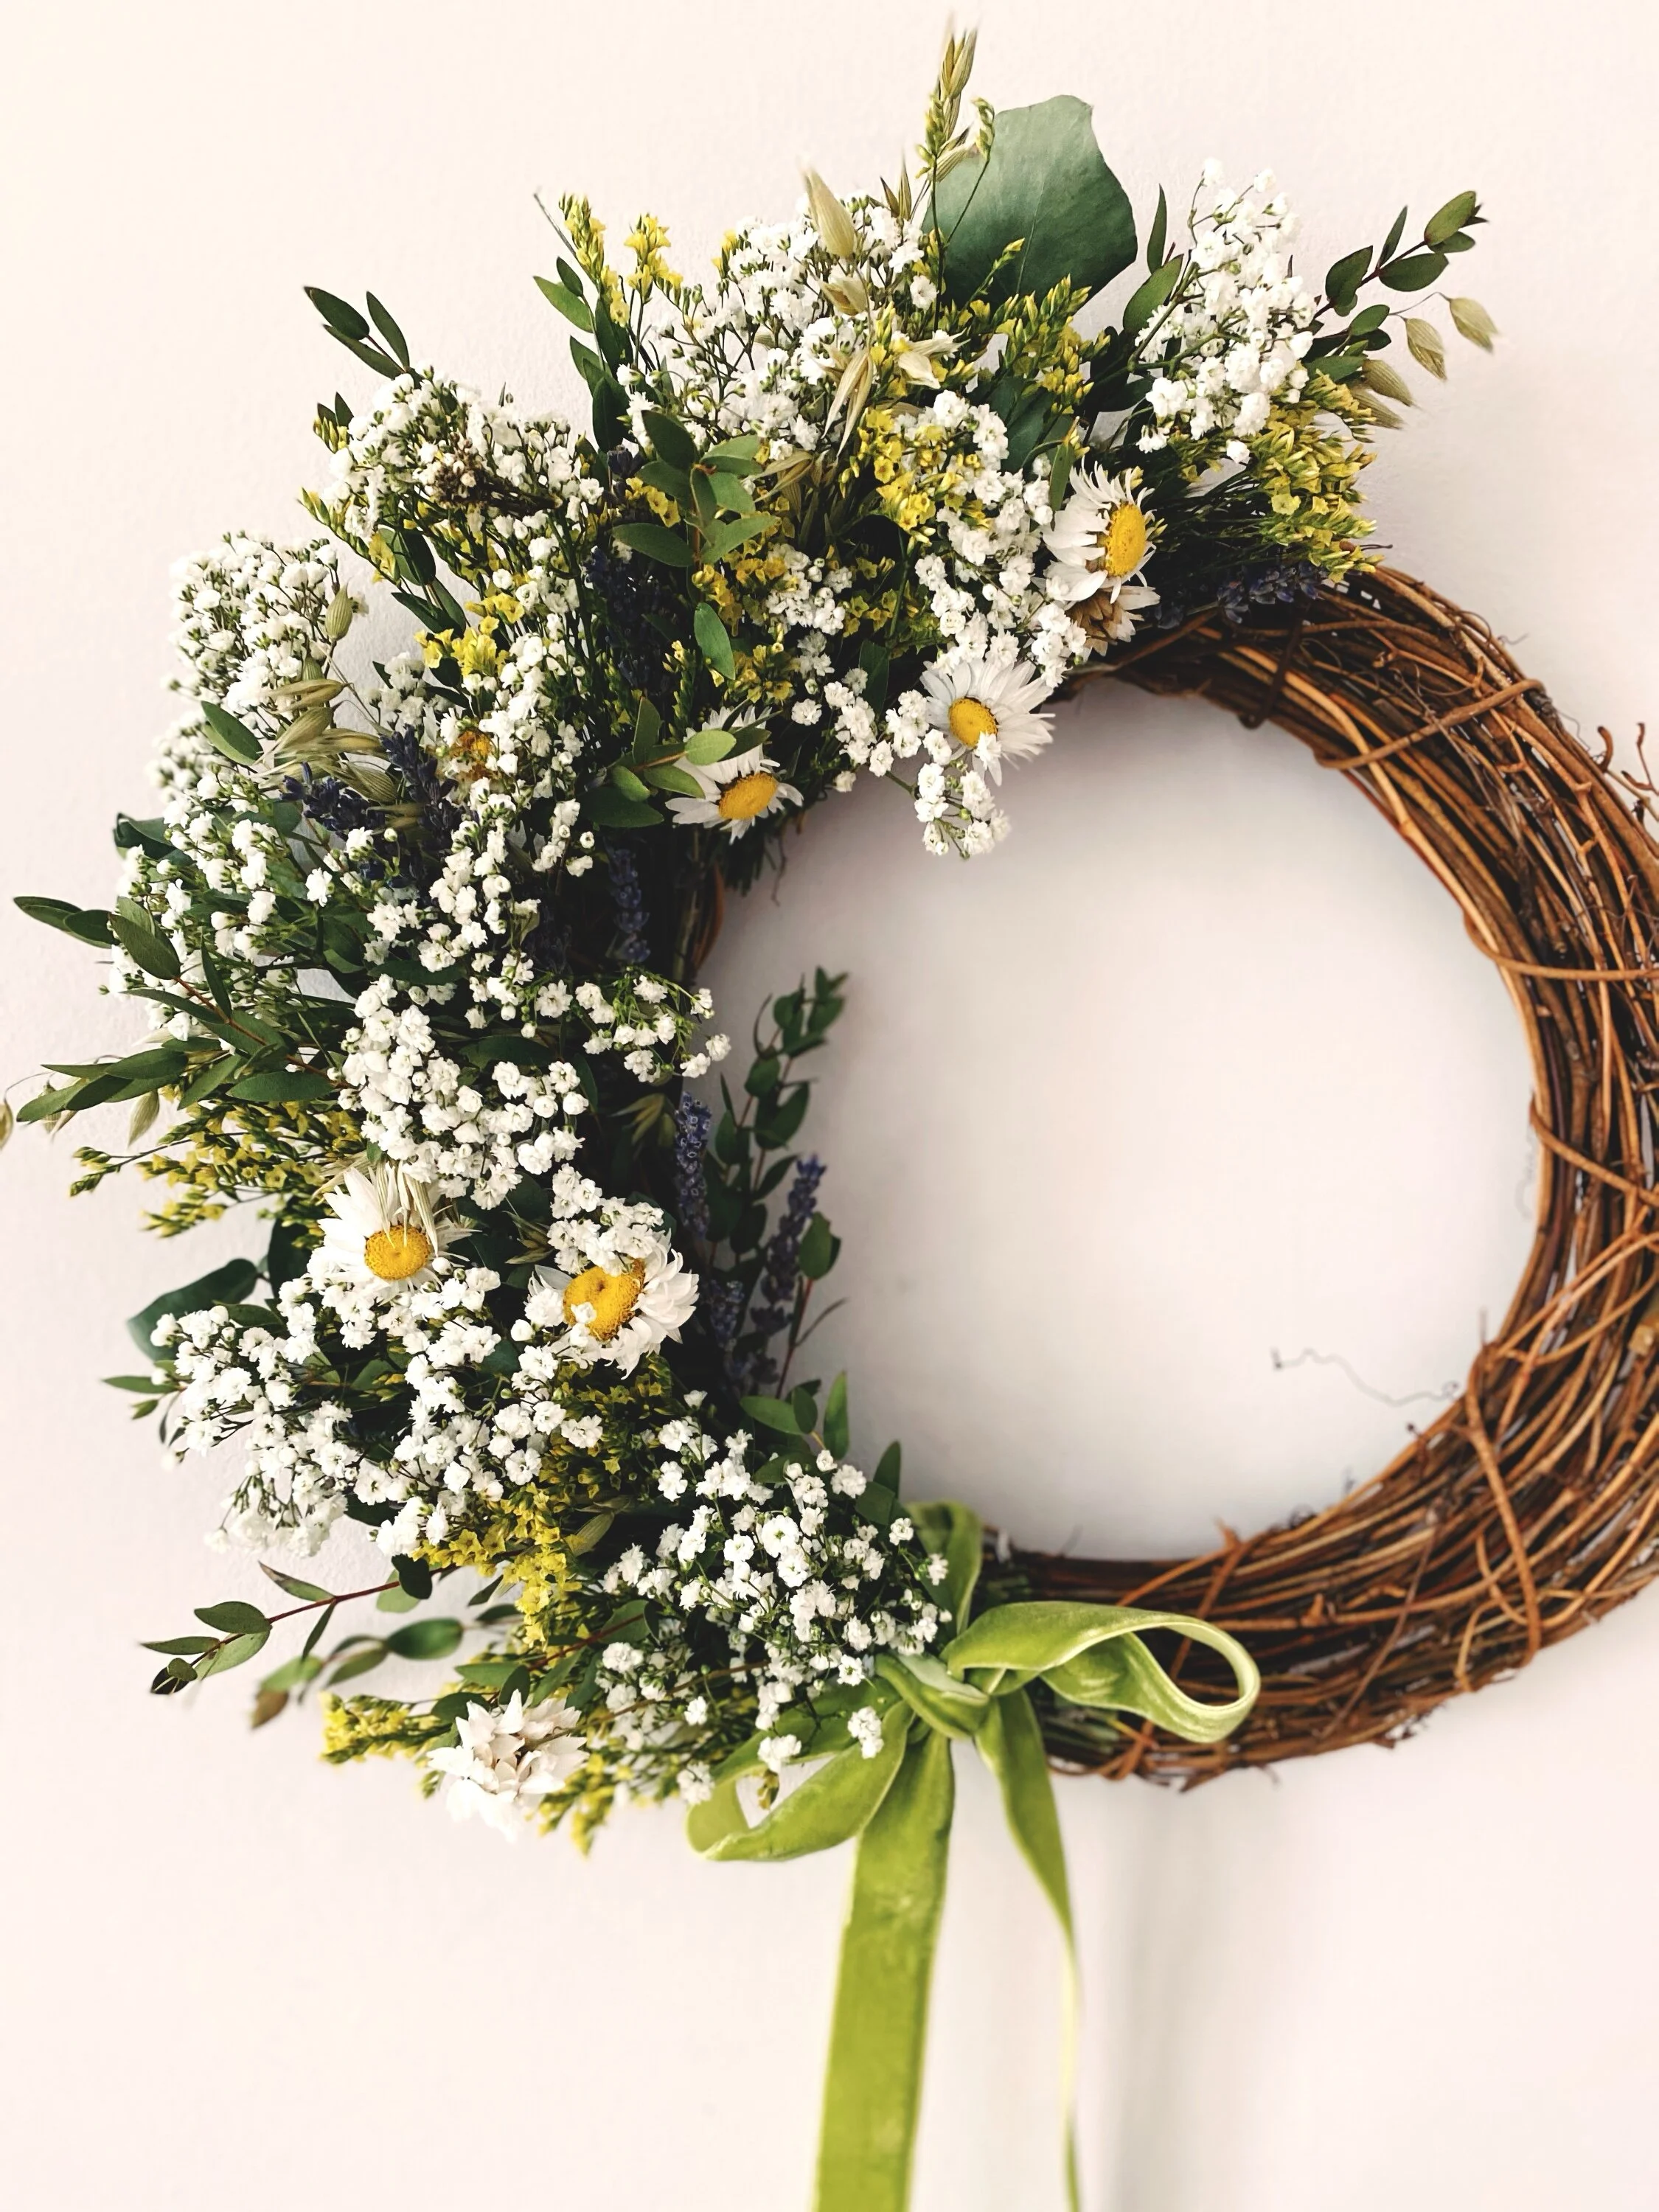
Featherington Spring Wreath Making
Many thanks for choosing one of our Featherington spring wreath kits to make. I hope you enjoy making it, I found it to be very relaxing.
Firstly ensure that when your box arrives if you are not making your wreath straight away put the eucalyptus in some water and store somewhere dry and everything else also needs to be kept somewhere cool and dry also.
When you are ready do the following:
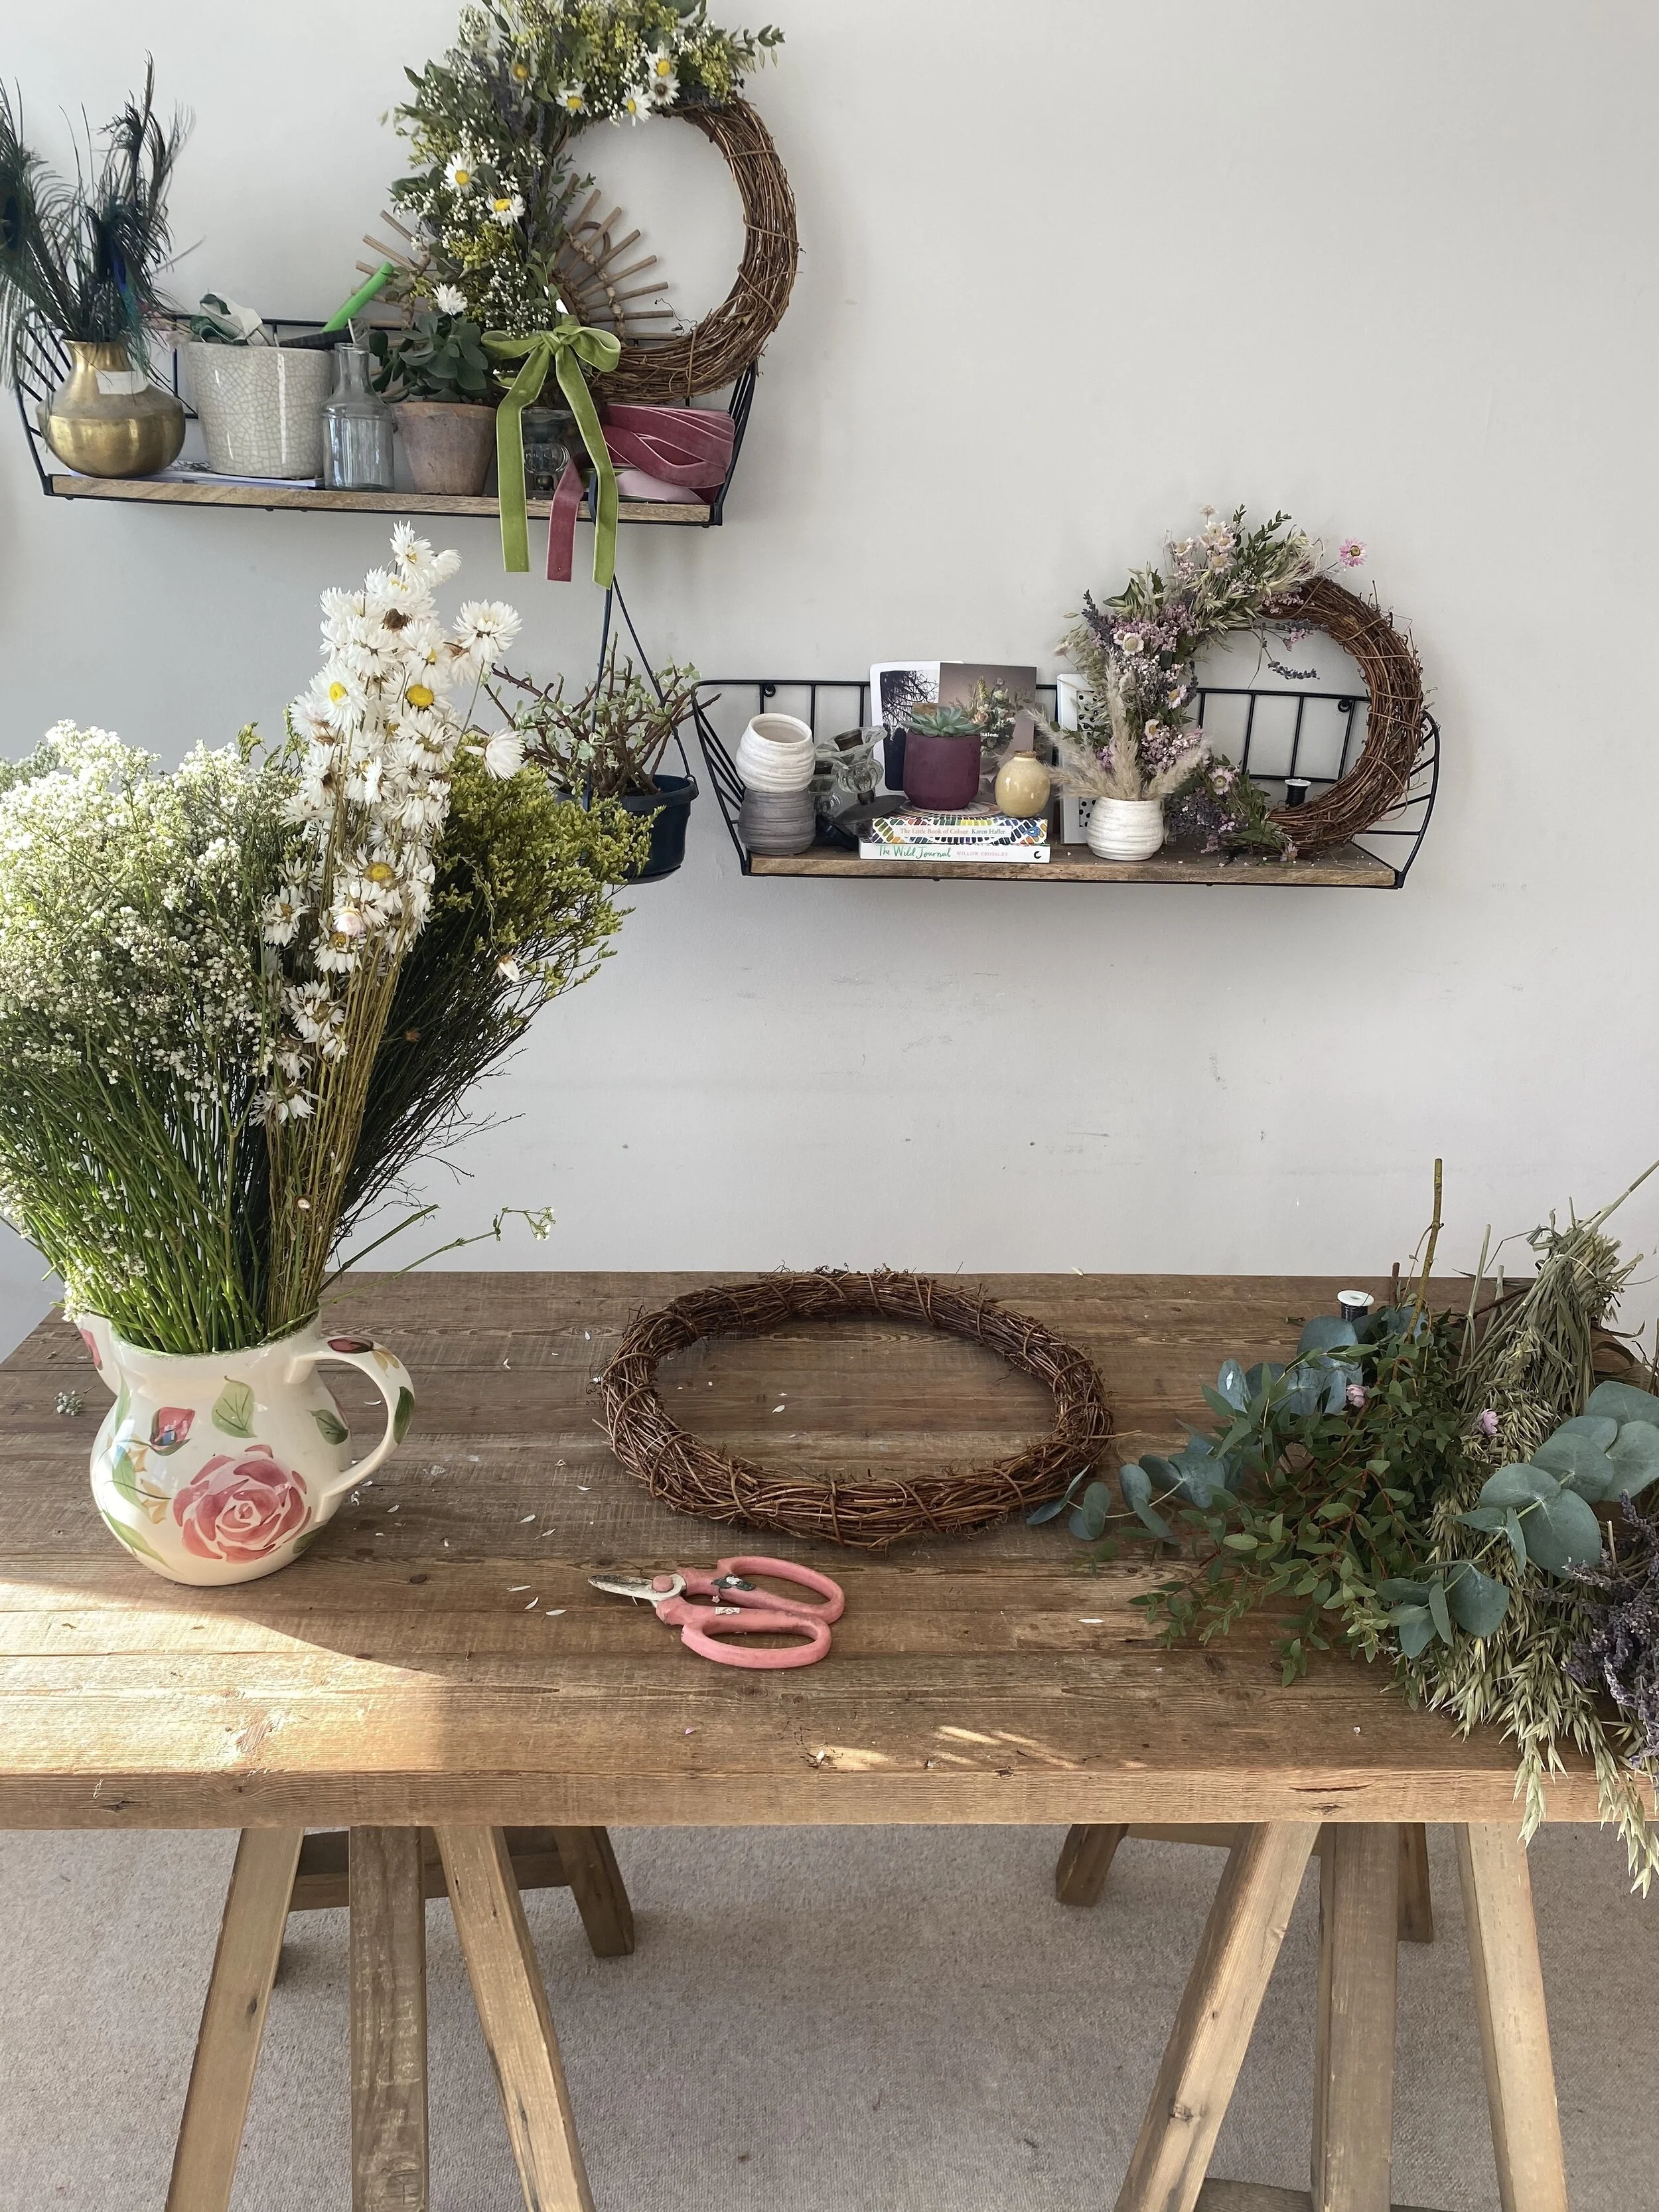
Clear a space, kitchen table is ideal.
You will need a good pair of scissors.
It’s a good idea to create ten to twelve clusters of flowers and foliage before you start (use the video to help).
Step one:
Tie your string to the top of your wreath.
Step Two
Create your clusters. Try to place foliage and bigger pieces at the bottom and then add more decorative items on top. Each cluster doesn’t have to be the same. Be careful with the daisies, they are delicate! Enjoy creating beautiful bunches and place them on the workbench. Make sure the bottom of your clusters are free from leaves and stems are bare.
Step three:
You want to start placing your clusters at the top of your wreath, use the video to help. Take your first cluster and bring it in at an angle so the stems are coming towards the centre of your wreath frame and your flowers are on the outer part. With your wire wrap around the stems tightly to your frame. I find going around three times ensures that it is fully secure. Ensure that you end of your wire is fully secure and attached to one of the vines of your frame.
One the cluster is firmly in place fan out the flowers.

Step Four
One you have secured your first cluster it is now time to add your next one. You want to add the second in exactly the same way, bringing the stems in towards the centre of the wreath and the flowers on the outer wreath frame, but this time you want to ensure when you place your second cluster the flowers cover the mechanics of the first cluster, refer to the video for more instructions.


Step Five
You want to keep placing your clusters in exactly the same way as your first until you get towards your half way point.

Step Six
Once you are at the bottom, hold your ribbon roughly in the middle, pinch the centre, make one loop on the left side and then one on the right, take your wire and twist around the centre of the wreath to hold it together and then wrap the wire around your frame. If this is too tricky then simply wrap your ribbon around the frame and create a bow.
There you have it your Featherington wreath is complete. This wreaths are better suited to being outside, but can be kept inside. Give your wreath a good shake before you take it outside to ensure you have attached the flowers and foliage on tightly enough. The eucalyptus will dry and become a crispy texture and over many moths the flower colour will start to fade.
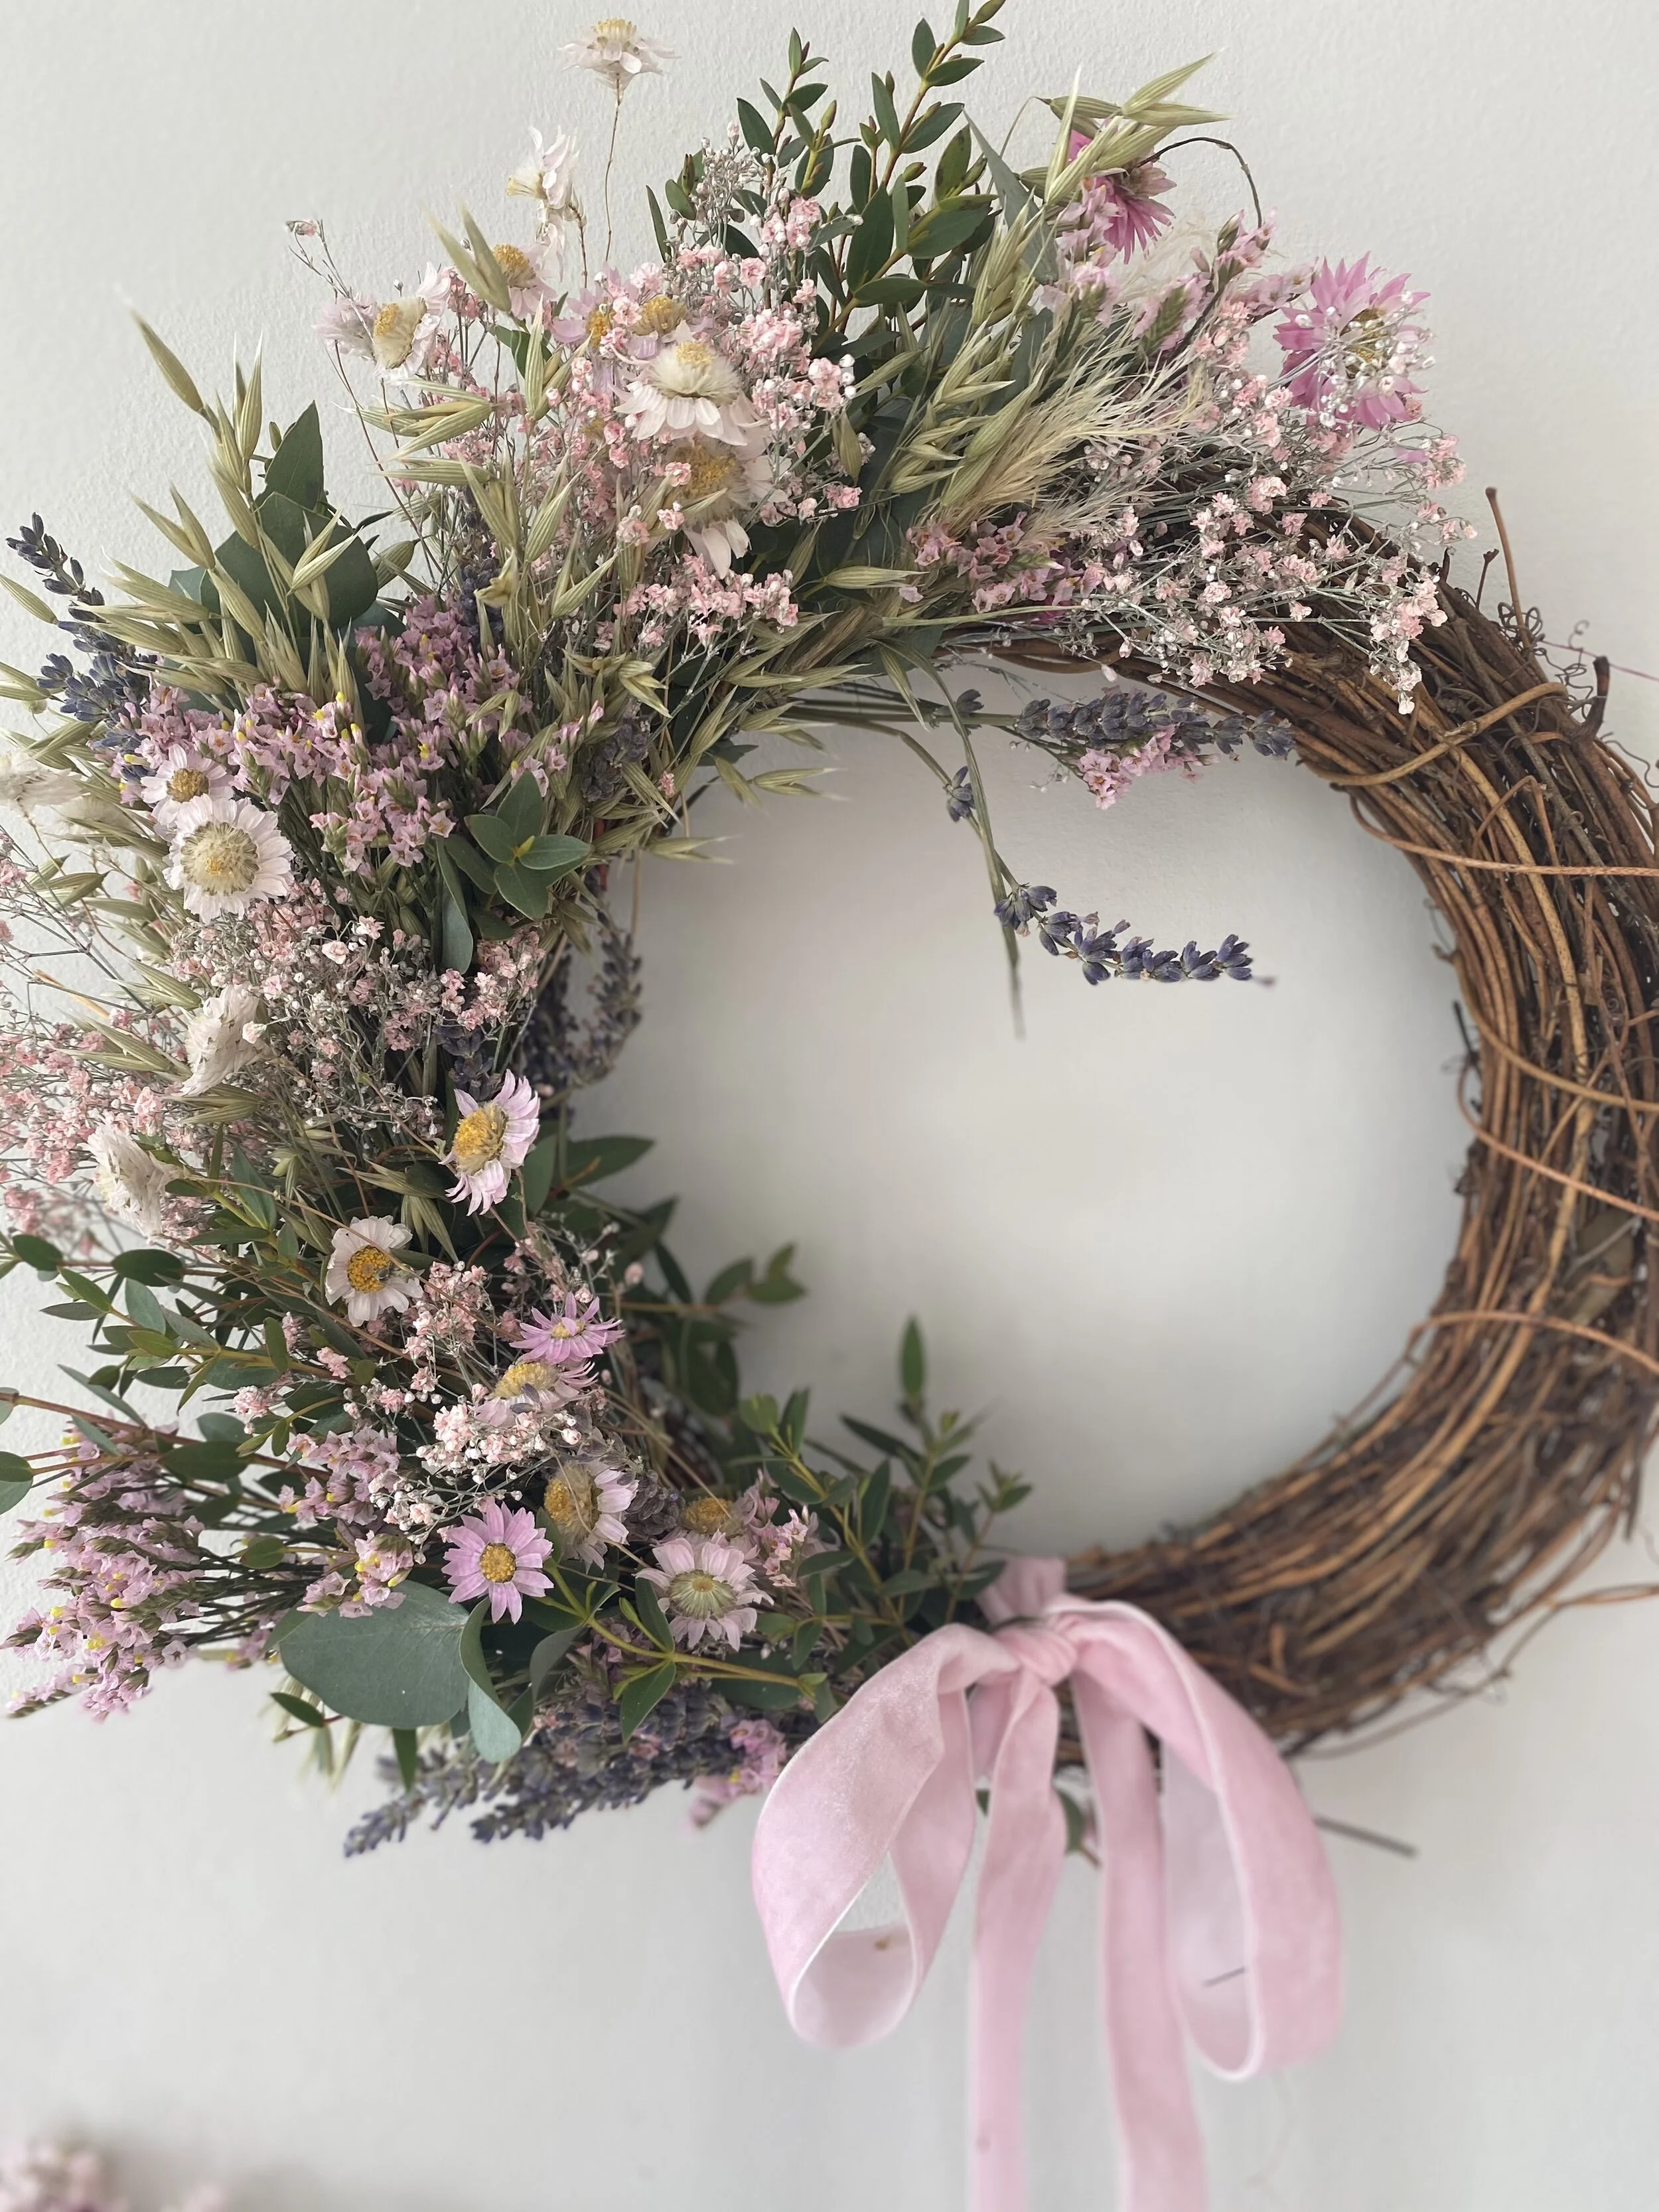
Bridgerton Spring Wreath Making
Many thanks for choosing one of our Bridgerton spring wreath kits to make. I hope you enjoy making it, I found it to be very relaxing.
Firstly ensure that when your box arrives if you are not making your wreath straight away put the eucalyptus in some water and store somewhere dry and everything else also needs to be kept somewhere cool and dry also.
When you are ready do the following:
Clear a space, kitchen table is ideal.
You will need a good pair of scissors.
It’s a good idea to create ten to twelve clusters of flowers and foliage before you start (use the video to help).
Step one:
Tie your string to the top of your wreath.
Step Two
Create your clusters. Try to place foliage and bigger pieces at the bottom and then add more decorative items on top. Each cluster doesn’t have to be the same. Be careful with the daisies, they are delicate! Enjoy creating beautiful bunches and place them on the workbench. Make sure the bottom of your clusters are free from leaves and stems are bare.


Step three:
You want to start placing your clusters at the top of your wreath, use the video to help. Take your first cluster and bring it in at an angle so the stems are coming towards the centre of your wreath frame and your flowers are on the outer part. With your wire wrap around the stems tightly to your frame. I find going around three times ensures that it is fully secure. Ensure that the end of your wire is fully secure and attached to one of the vines of your frame.
Once the cluster is firmly in place fan out the flowers.


Step Four
One you have secured your first cluster it is now time to add your next one. You want to add the second in exactly the same way, bringing the stems in towards the centre of the wreath and the flowers on the outer wreath frame, but this time you want to ensure when you place your second cluster the flowers cover the mechanics of the first cluster, refer to the video for more instructions.


Step Five
You want to keep placing your clusters in exactly the same way as your first until you get towards your half way point.

Step Six
Once you are at the bottom, hold your ribbon roughly in the middle, pinch the centre, make one loop on the left side and then one on the right, take your wire and twist around the centre of the wreath to hold it together and then wrap the wire around your frame. If this is too tricky then simply wrap your ribbon around the frame and create a bow.
There you have it your Bridgerton wreath is complete. This wreaths are better suited to being outside, but can be kept inside. Give your wreath a good shake before you take it outside to ensure you have attached the flowers and foliage on tightly enough. The eucalyptus will dry and become a crispy texture and over many moths the flower colour will start to fade.

Hello 2021!
Happy New Year to you all. It is probably not the start that we all hoped for and yet again we find ourselves in lockdown, but in January. But there seems hope which was lacking some what last spring and I want to thank all the NHS staff who are working so tirelessly on the front lines.
For me it’s all about homeschooling my two boys and keeping my four year old daughter entertained. This can often leave me completely exhausted and drained emotionally. I do believe I feel better equipped to deal with this lockdown. Last spring taught me a lot, mainly not to put too much pressure on myself and also to realise what we are all going through is very difficult and we have our own personal struggles and stories that might not be publicised. So whatever you are going through at the moment I hope you take pleasure in the small things and finding some comfort in nature and your surroundings.

Bringing the Outdoors Inside: This is something I love to do at this time of year, so when the Christmas decorations are down I fill the house with spring bulbs and plants so that there is feeling of new life and hope for brighter days. During lockdown we will be running a series of free floristry tutorials. All aimed at getting you to get creative with bits that you have in your garden or can collect on your walks. The tutorials will be available to watch through our Instagram page and I will also be uploading them onto our youtube channel.

This year we are also excited to be expanding our online store. We are now stocking gorgeous botanical products by Rifle. Choose from Tote bags, pens, stationary, party wear. There are going to be a lovely selection of products coming so watch this space.


Also in our shop we are delighted to be stocking the most beautiful floral cards by artist Alison Field of Blossom Beau Field. I discovered Ali’s work through a friend. I adore her work and I am super excited to be selling the most beautiful collection of floral display and cut flower gift cards. If you are anything like me I love to have a set of gifts in the drawer and I also love to display them. Check out one of my favourites that I bought for myself I have displayed it on our gallery wall.


Ali’s cards are available through our gift shop and are sold in packs of five, each with a beautiful unique design. Simply click here to view the collect.
If you love her work, which let’s face it who wouldn’t, then check out her instagram account and see more of her beautiful collection of prints.

This year we are also excited to be offering a subscription service. We hope to bring students three designs each month to keep your creative flare going and to learn new techniques. We will also be launching our own set of table ware so that you can create a truly beautiful table display for those very special events. First one coming on Mothers Day!
I hope everyone stays well and remember Spring is on its way!
Alicia x

Christmas is Coming
What a strange and intense year it has been. I feel like on moments of reflections it feels like a dream. Previously to 2020 I would long for things to slow down, but the idea of going back to April and May fills me with dread. Although I am sure everyone can bring some positives from this year, for me the quality time of being with my children I know I will reflect on in years to come how special it was, even if I couldn’t see it at time! It also showed me what I can actually cope with, staying at home with three little ones by myself, trying to teach two of them was definitely difficult, lonely and exhausting. But I am proud of what we have achieved as a family and how we got through the low times together.
But I will always remember the pain of this year. So much loss, and hardship for so many. The one thing I have learnt is to appreciate the small things that perhaps have been overlooked when life is busy and I promise I will not forget them once things return to some sort of normality.
Although this Christmas will be different, no big parties, a quieter Christmas for all, I feel like being creative has saved me and so many this year and I am so proud to bring our selection of wreath kits so that you can continue to get creative in your home.

The Scarlett Wreath
I wonder what it is about a Christmas wreath that gets everyone so excited? Instagram loves them. I think for me it is a sign that something special is coming and I hope more than ever if we are able to meet with those that we love it will feel even more special than ever before.

The Very Berry Wreath
For me I love the build up to Christmas the most and the part I love the best is decorating the house. Red and green can be left at the door. Each year my house is filled with soft pinks, whites, sage greens and a touch of silver. I love to get inspired by life around me and one of my traditions at Christmas is going to the ballet and seeing The Nutcracker. I love the sugar plum fairies dresses and this year I have used their beautiful costumes to inspire one of our wreath kits.

Sugar Plum Wreath
Each wreath kit comes with all the materials: frame, wire, moss, winter foliage, and beautiful decorations including dried flowers, fruit, cones, berries and each wreath is finished off with a velvet ribbon. All the kits will contain a mini bottle of prosecco to enjoy while you create.

The Winter Wonderland Wreath
Choose from four beautiful designs: Winter wonderland, Sugar Plum, Orange and Lemon and The Very Berry Wreath. Choose which day you would like to collect your items. You will be given a time. Come at your chosen time, collect your package and your tutorial will be emailed through to you. The tutorial goes through making each wreath step by step. the bonus is you can stop, rewind and pause.

All you need to supply is a good pair of scissor, a dustpan and brush (apologies it will get messy) and a cracking Christmas playlist.
If making a wreath is simply not your thing we are also selling ready made wreaths. Choose from four beautiful design: the Hope, The Rose, The Heather and The Scarlett wreath.


I would like to thank everyone that has been to a workshop, course or bought items from our shop. It has no doubt been an extremely difficult year for businesses. So your support means the world to me.
Whatever you are doing this Christmas time I hope you have a wonderful time and I would like to wish you a very Happy and healthy New Year.
Alicia x